Business accounts

Description:
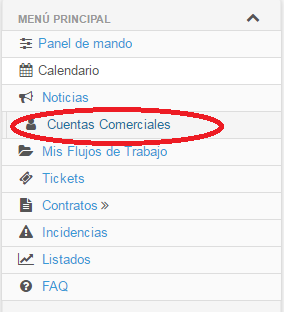
In the Commercial Accounts tab you will find all those accounts created in the application. To create a new account, we will position ourselves in the main menu Commercial Accounts, Create. 
In turn we can make the account through the button Quick account registration 
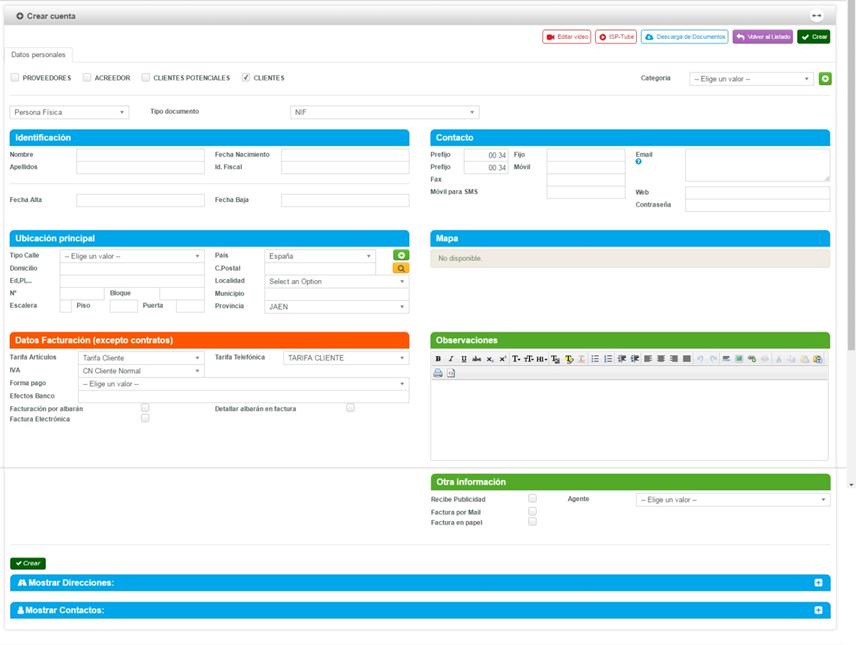
 In this way it will ask us for less data to complete. If we click on Fast Account Registration, the following screen will appear:
Fields:
By default the Customers category is marked √, if we want it to be a different category, we must uncheck Clients and check the desired box.

Originally the Natural Person tab is marked, if it were a company we should display and select Legal Person, and the corresponding document.


Name: We will write the name of the account we are registering.
Surname: We will write the surname of the account we are registering.
Fiscal Id: We will indicate the Fiscal identification number (DNI).

Street Type: A dropdown appears with the different type of Street.
Country: By default Spain is selected.
Address: We will write the name of the address.
C. Postal: We will indicate the Postal Code. Not knowing it right on the  We can search the code by the name of the Municipality.
Ed, Pl: Refers to the building, plaza, or some additional address information.
Town: Automatically double-clicking will be completed by entering the Zip Code. If the Postal Code belonged to more than one locality, a dropdown will appear to choose from.
If this locality does not exist, a new one can be created in the icon .
.
No.: We will indicate the address number.
Block: We will indicate the address block.
Municipality: It will be completed when selecting the locality.
Stairs:
Floor: We will indicate the floor of the home.
Door: We will indicate the door of the home.
Province: It is automatically completed upon detecting the locality.

Description:
This section refers to the Invoicing data for articles. That is, the billing data for recurring fees will not be included. These data will only be taken into account when billing items (router, phone, etc.).
Fields:
Items Fee: A dropdown will appear with the item fees created.
Telephone rates: A drop-down list will appear with the created telephone rates.
VAT: A drop-down will be shown with the VAT type registered.
Payment methods: A drop-down will be shown with the types of payment method registered.
Create: Pressing create will save and create all of the above.
Make a quick registration in ISP Management:
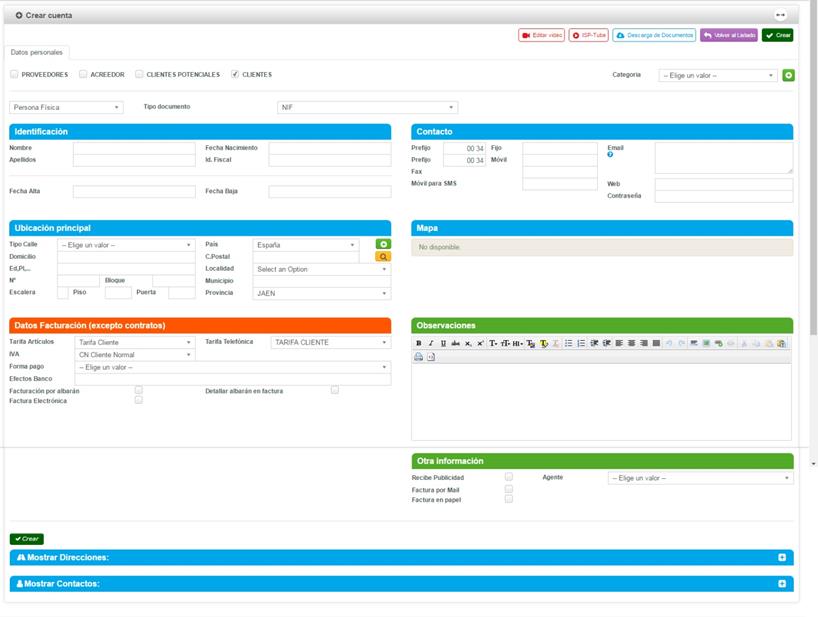
If we click on the button  the following screen will appear:

As in the previous tab, by default the Clients tab is marked. If we want it to be another type of account, we must mark a different tab.


There is the possibility of creating a new category
 At the top appears by default marked Physical Person and Document Type

Tax ID: It will indicate the Tax Identification Number of the company in this case. (CIF)
Business Name: Refers to the business name, where the company is registered. (Address)
Commercial Name: Name with which the Company is represented
Representative: Name of the Legal Representative of the Company
NIF Rep: Tax Identification of the Company representative
Position: Function of the representative (Administrator, etc.)
Date of Birth: date in number of Birth of the Legal Representative.
F Power: Date on which the position of the Legal Representative is signed.
Registration Date: Date the account is registered.
Cancellation Date: Date the account is deregistered, it will be left blank until the account is deregistered.

